*Major upload*
Here is most of the stuff I made since my last post
Software - Autodesk 3DS Max + Adobe Photoshop
Click on the pictures to enlarge and Backspace to return to the main page and don't forget to vote witch picture/pictures you like the most
Here they are(description where needed and the pictures):
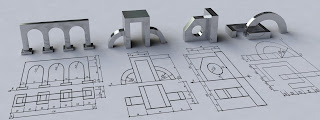
#1. Seen something like this somewere and decided to try it on my own
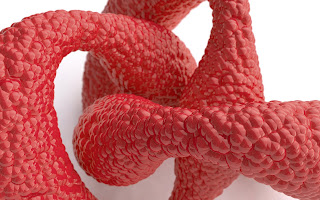
#2. I don't know what this represents... it's up to the viewer to decide
I like the way it turned out
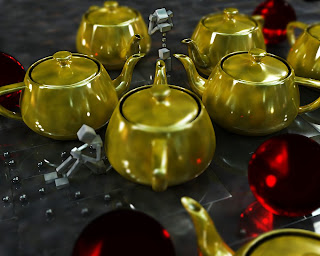
#3. Translucency + Transparency + Light materials + Lots of chamfered boxes = Serious render time
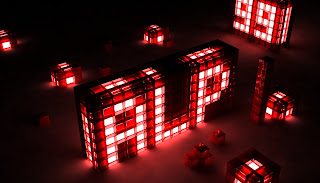
#4.
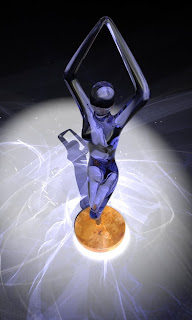
#5.
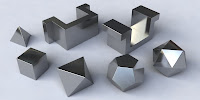
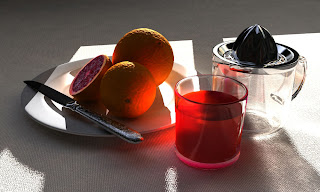
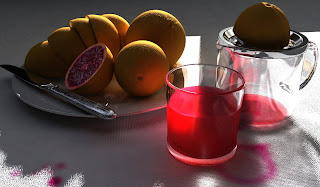
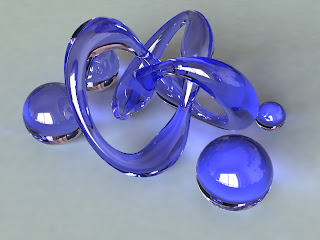
#6. The 2 images below are made for a Shading/Rendering Chalenge. The objects in the scene are courtesy of the chalange creator
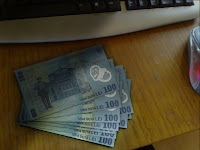
#7. Fake 3D money... Maybe they'll be for real in the future
#8.
#9.

Wednesday, May 14, 2008
Monday, March 10, 2008
Childhood (LEGO Project)
Friday, February 29, 2008
Just a bit ugly
This one is part of those ideas that come in an instant, take rezonably short to model, but eats many days of your life with rendering experiments.
And don't ask me what it represents, all I know is that it somewhat resembles an elephant, is ugly and fat.
I started with a base mesh in 3Ds Max, exported it to ZBrush for modeling and then back to 3Ds.
I experimented a lot with translucency, I wanted the model to look as it's made of wax...the second and the third picture represent just that. It looks a bit too transparent, but I like that.
...click on the picture to enlarge...
Clay renders
Many Faces
This is the result of an idea I had a few days ago, it's a short experiment with ZBrush. Many people have more than one face, why can't I make something with eight...
After the ZBrush phase I exported the faces to 3Ds max for rendering
Sorry for the video quality...
Picture from a GL calc. phase of the rendering Clay render
After the ZBrush phase I exported the faces to 3Ds max for rendering
Sorry for the video quality...
Picture from a GL calc. phase of the rendering Clay render
Smiley
Sunday, February 24, 2008
Ugly old green man
Devil - Part 1
I am the maker and creator of the devil, here you have a glympse of what he will look like. I tried to make him ugly but also elegant and with a mean smile
I used ZBrush to model this character, and I'll probably export it to 3ds max for rendering after finishing all the details, textures and posing
If you think there is something to make it uglier or meaner, leave a comment
...click on the picture to enlarge...
I used ZBrush to model this character, and I'll probably export it to 3ds max for rendering after finishing all the details, textures and posing
If you think there is something to make it uglier or meaner, leave a comment
...click on the picture to enlarge...
Sunday, February 17, 2008
Passat Variant
After finishing the Ferrari tutorial, just up to the exterior part of the model, I started my own project, modeling my Passat.
Here are a few pictures of it.... Again, only the exterior is made.
Made in 3ds max and rendered with Vray. I used a HDRI image for lighting and reflexions
...click on the picture to enlarge...
Clay render in my style:
Final renders:
Picture from a GL calc. phase of the clay render:
Here are a few pictures of it.... Again, only the exterior is made.
Made in 3ds max and rendered with Vray. I used a HDRI image for lighting and reflexions
...click on the picture to enlarge...
Clay render in my style:
Final renders:
Picture from a GL calc. phase of the clay render:
Ferrari F430
Friday, February 15, 2008
Just for fun
Also with 3ds max and rendered with Vray, here is a funny fish I made one evening
now that I see it, I realize that a purse would make a nice add-on along with the lipstick and pierceings, but I'll leave that for a later time
if you like it or even if you don't or maybe you have got some advice, please leave a comment... and please keep it professional...
...click on the picture to enlarge...
I don't know why the hair didn't render in the last picture... maybe because the model is being overlaped by the water object.
If you know the reason for this, please leave a comment
Thursday, February 14, 2008
First post
This is a blog I wanted to create for a long time and today is the day. I've got lots of 3D projects just sitting in my computer since this is a hobby that follows me for few years now and some of them will eventually find their way here.
As a start, here are some abstract pictures I made with 3D Studio Max a while ago
...click on the picture to enlarge...
As a start, here are some abstract pictures I made with 3D Studio Max a while ago
...click on the picture to enlarge...
Subscribe to:
Posts (Atom)